It is just so fun to create a scene with various Whimsy elements to help along the way! I love love love using stencils and Oxide inks to "help" fill in the background! I also REALLY love the new No Fuss Masks at Whimsy, gosh they make masking an image so easy peasy, and quick too!
I coloured the image, trimmed the panel to make a square, and then proceeded to mask off where I needed. I used a No Fuss mask on the unicorn (see below for a link!) first. Then I masked off a curved hill near the unicorn's feet, using a die from the the Stitched Border Trio. Then, I die cut the large "Snowy Tree and placed that to the right of the image to use it as a mask; I didn't want to get any ink in that area so I had to keep it clear of colour, in the shape of a tree. So using the die cut as a mask worked wonders for this technique! It made it possible for me to go back in and colour up a tree, just like you see here, on the right. I did something similar on the left with some birch tree shapes as well. Then, Once everything was masked up where I didn't want any Oxide ink to go, I was ready to apply the Oxides. I started with the hill behind the unicorn and birch trees. I used Speckled Egg to sponge a bit of shadow on that hill. Then I grabbed the Winter Wonderland Stencil and Old Paper and Shabby Shutters inks, and went to town creating the trees in the background. I lifted off the stencil, and used some Tumbled Glass Oxide ink for the sky and I put a few bits of it here and there on the first snowy hill I had made. After that I was able to peel almost all the masks away (except for the unicorn, I left that one on) and began colouring the two birch trees, the evergreen on the right, and the shadows on the snow in the foreground using Copic markers for all the details.
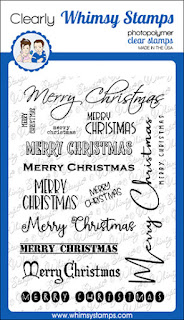
When all the colouring was complete, I got Copic white paint and a watercolour brush, and spattered the snowflakes all over. Once it was dry (only takes a couple minutes, it dries so fast), I peeled off the No Fuss mask from the unicorn. I finished it off by stamping the sentiment, and then it was just a matter of layering it up and putting it on a card base.
All the product links are listed below - and If you make a purchase at Whimsy Stamps by following one of my links, I get compensated (at no extra cost to you) even if it isn't a product from my line - And of course I get compensated for every purchase you make from my line of images at Whimsy too. Thank you so much for your kind support - because it means I get to continue drawing for Whimsy and having fun with all of you!


No comments:
Post a Comment