Saturday, December 25, 2010

Daughter's Purple Christmas Card

Ever since any of us can remember, purple has been daughter Val's favourite colour for anything and everything.  So every card I make for her has to be purple, no matter the occasion!  So this is her purple Christmas card for this year.  :-)
I stamped the larger poinsettia from my "Vintage Christmas" stamp set for Whimsy Stamps onto brown card stock.  It isn't "kraft" but it looks like it (kinda).  I wanted to use pencil crayons this time for the colouring.  I got inspired by Annika, who has been doing a lot of pencil crayon colouring these days.  I used Copic White in places when I was done to intensify the white in places.
The sentiment inside was done using a digital sentiment by Ann of Raindrop Echo Designs, also for Whimsy Stamps.   It is from her "Christmas Sentiments" collection.   I simply brought it into my Photoshop Elements program to add some colour with the paint bucket tool.  Fun!
Enjoy your holidays folks!  I know I will!  Thanks for coming by today!

Wednesday, December 22, 2010

Another Christmas Card

 I made this card for my MIL, who is responsible for getting me into this stamping habit!   And as a result, the stamp illustration jobs that I have been doing for about six and a half years now! Thanks Mom, your influence has enriched my life!  I will always be grateful to you for sharing your love of cards and stamps with me!
The image is one I did for Whimsy in a set called, Peace on Earth.  Now this image of the branches is much larger than the actual stamp.  I had to enlarge it when I was colouring it to use on the designer papers that Ann and I created.  The stamp is 1.8 x 2.8 " but this one is around 3.75" big.   The dp is one of Ann's and my creations as well, from the Holiday Folly Pack.

I coloured the image using Copics.  
I must say though that I have to think twice about using Smooch Pearlized Top Coat on certain inks.  Because it caused the black ink in the berries to smudge.  boo.  Live and learn.
This is the inside of the card.  I used one of Ann's digital sentiments from the 
"Christmas Sentiments" set.  I brought it into Photoshop Elements 8 to add some colour to the design.  I love being able to alter digis with colour using the computer!  Its so fast and fun!
I'm entering this into the following challenges:
Creative Belli Blog: Christmas
Freshly Brewed Challenges: Merry Christmas
For Fun Challenges: Anything Goes
Papertake Weekly: Anything Goes


Friday, December 17, 2010

Starry Night

Hi and welcome to my blog!  I have another Christmas card today, this one uses the rubber stamp I did for Whimsy, Starry Night.  I had fun trying to make the image look like night time without getting too dark.  The shadows on the polar bear were tricky but I am happy with the result I got.   
I used some of Ann's ticket stamps from her Holiday Ticket Sentiment set.  I also used her Ticket Die to cut it out perfectly.  And my snowflake die too!  I trimmed the one on top of the bow.  I have a second one just under the bow, its hard to see in the photo. 
I coloured Starry Night with the following Copics:
Sky: B63 plus pencil crayon to smooth out the lines of demarcation.  I find when I use a medium shade of Copics, and I have a huge area to cover, I can't do it without some lines showing.  Before I added the pencil crayon to make the streaks disappear, I used the blender pen to remove dots of colour where I wanted stars.  It made a nice little round "halo" for the stars.  I also removed some streaks in long lines to show the "rays" of the stars.  Then I went over the whole sky with my pencil crayon, and avoided the areas I had used the blender pen on.  Once I was done with the pencil crayon, I dotted Copic white in all the areas where I had used the blender pen to make a pinpoint "star". 
R22 was used on the horizon and blended towards the blue with the blender pen. 
Three big stars: Y23 and white pencil crayon, and then Smooch pearlized top coat to make them shine. 
I used white pencil crayon to make more "rays" coming out from the three big stars. 
Polar Bear Fur
E50 all over the entire bear's fur area.  In the shadows I used E53, B60, 63, 66 and C4. Cheek area was done with R00, 01, and 12.  I then used Copic white to make fur-like strokes all over, avoiding the cheek and inner ear area, and also avoiding the black lines of his eyes and facial features. 
After the first coat was dry, I went over it with more E53, B63 and 66 to deepen the shadows. 
Hat and scarf: R00, 22, 24 went on first.  I wanted a pinker look, so then I went over those colours with RV00, 21, 23 and 25.  I made some deep shadows using C2 and 5, and then went over those grey shadows with the RV colours again.  
 Fur trim on hat: C5, 3, 2
Penguin: N0, 3, 4, 5, 6, 8
Feet and Beak: E93, 95, 99
White feathers: E50, 53, C2
Ground and Shadow: E50, B60, 63, 66, C8, 6, B000, Blender and Copic White
I'm entering this card in the following challenges:
Stampin Royalty: Bring on the Bling
Gingersnap Creations: Polar Animals
Cute Card Thursday: One for the Kids
Copic Creations: Sparkle!
SCS WT 301: All That Glitters

Thanks for looking today! If you have any questions, send me an e-mail (address in my watermark and on my profile page). 

Tuesday, December 14, 2010

I'd Follow You Anywhere

Hi and welcome to my blog!  I have another Christmas card to share with you today.  I used my new "
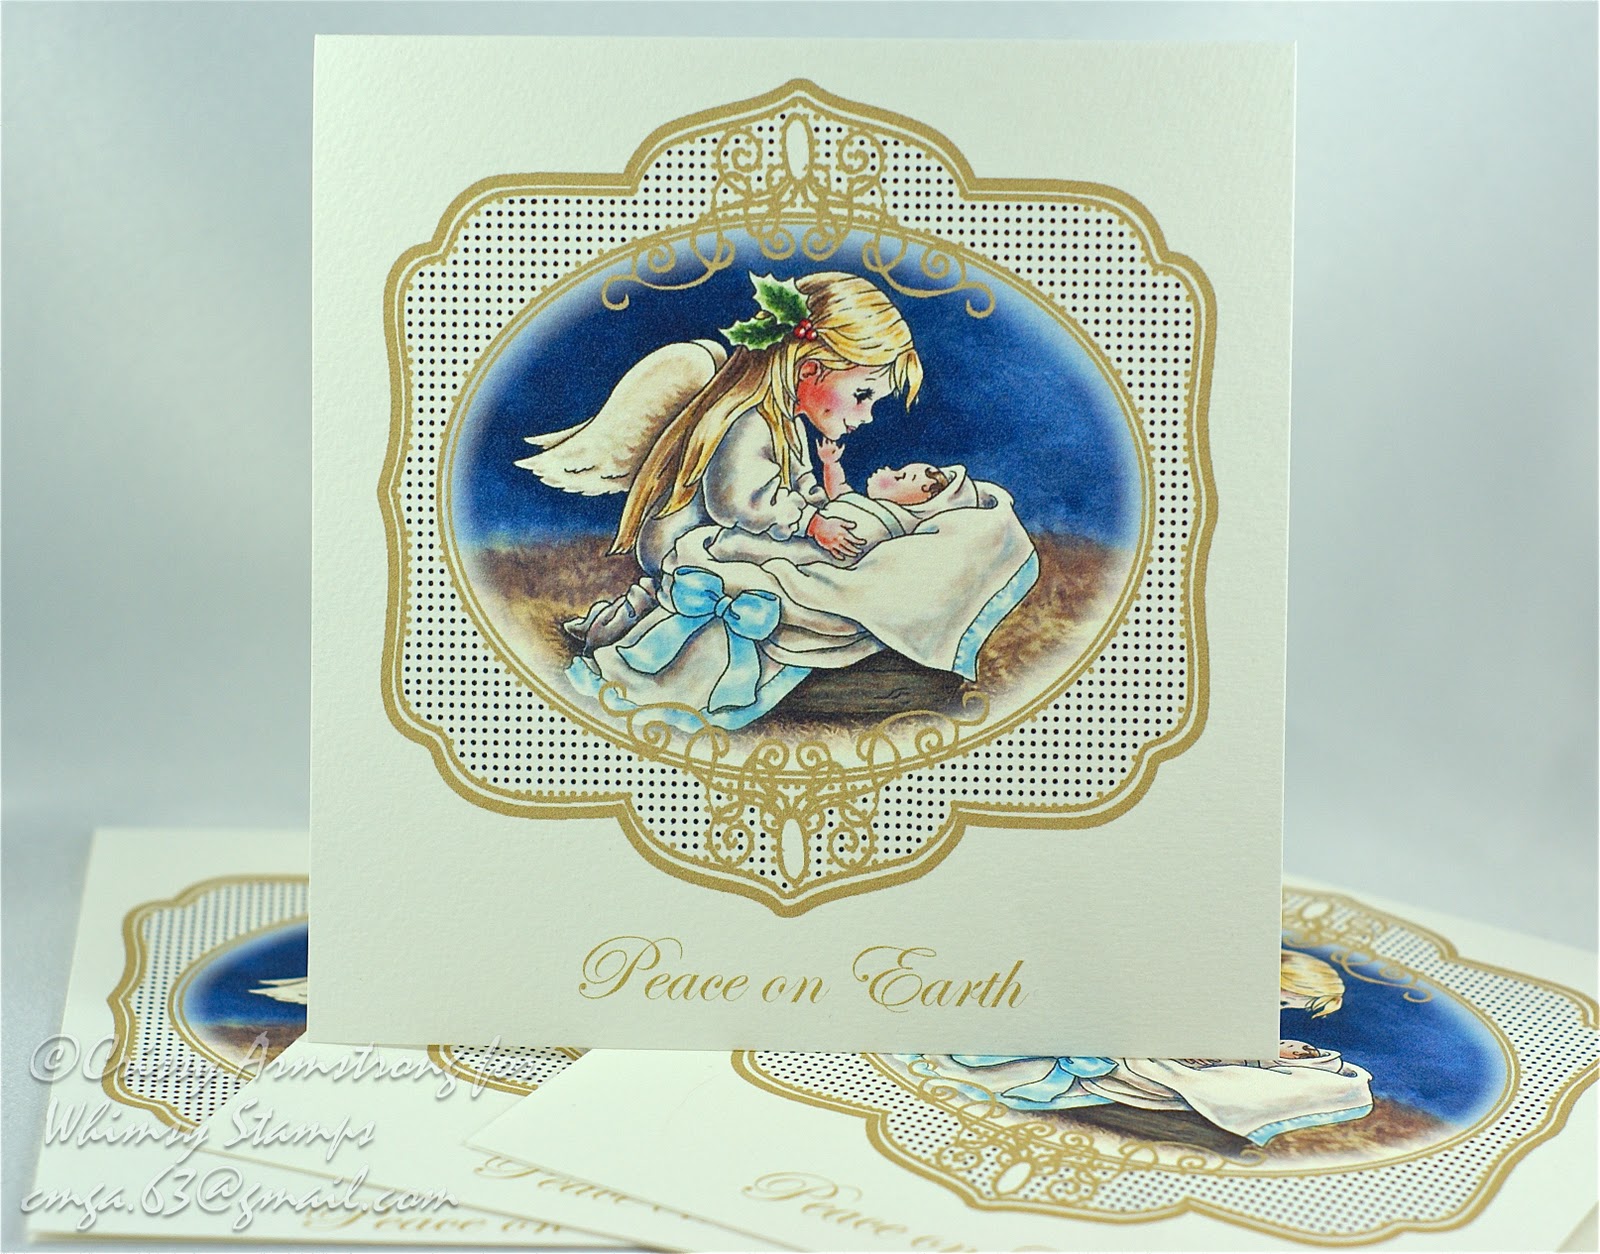
I'd Follow You Anywhere" image I illustrated for Whimsy Stamps.  This one is a rubber stamp, deeply etched red rubber of the highest quality.  The sentiment is by Raindrop Echo Designs and is found in this beautiful set called Winter Letter Seals.
I must say that I was really inspired by Annika's card on her blog.  I copied her card a little bit  and I even wrote to ask her what colours she used on the polar bear fur.  And she graciously filled me in!  Thanks Annika, waving!!
I find polar bear fur is always a bit of a challenge to colour.  Polar bears really are a creamy golden off-white and not pure white.  However, if you use Copics and make the whole bear yellow, its going to look really odd! 
White really does show some colour, as it reflects a lot of its' surroundings -  especially in the shaded areas.  It is just difficult to decide exactly what colours to use sometimes!  
 I did something a little different this time.  After I had coloured the fur using Copics, I took out a small round water colour brush and went over the whole body with single strokes of Copic White.  I had a base coat of E50 all over the entire body, and had used some greys and B60, 63 in the really dark areas. So when I made small fur strokes with the Copic White, it really stood out with the darker colours underneath. 
 I love how Copic White is the most opaque white I have.  It is even more opaque than my Acrylic white.  So it really gives great coverage and shows up really well against colours.  That's why it worked so well here. I also added a few white strokes of Copic White on the penguin's tummy and face and also made the snowflakes by just dabbing the tip of my brush all over the background and ground. 
Here is the list of Copic colours used on the image:
Polar Bear fur: E50 all over, then E53, B60, B63, W1, 3, 4, N0, 1, 3
I used those same colours on the ground underneath the characters too, and added B66 and N6 in the darkest shadows under the feet. 
R00, 01 and 12 for the cheek blush
Hats and scarves: R20, 22, 24, RV10, 21, FRV1, G20, 21, 24 and N6 for the deepest shadows on the pink parts of the hats.
Penguin feet and beak: E93, 95, 97, 99
Penguin body: N0, 1, 3, 5, 6
Background above the characters:  R20, G20, B60 - I used a lot of blender in this section.  I wet a small section first with the blender, then just dabbed on a few dots of colour, and blended it out for a subtle look.  I added a wee bit of light purple pencil crayon in places where I didn't get a soft blend.  Then Copic white in spots overtop for the look of snow falling. 
I'm entering this card into the following challenges: 
Incy Wincy Designs:  Non-traditional Colours
Fab 'n Funky: Christmas is for the children
Cupcake Craft Challenges: Non Traditional Christmas
Riley and Co: Metallics
Creative Card Crew: Anything Goes
Artful Inkables: Punches or die cuts
And don't forget it isn't too late to enter my challenge at Sundays With Crissy!   We're doing "Christmas or Winter cards" too! I have a couple of digi's to give away to one lucky participant. 
Thanks for looking and I hope your Christmas preparations are going well!  I got the last of my cards out in the mail today.  Just a couple more things to purchase and I'm all set! 
Bye for now!


Wednesday, December 8, 2010

Rubber Release! Hop! Candy!


Hello and welcome to the Whimsy Stamps December new rubber release BLOG HOP!

We have NINE gorgeous new Whimsy Stamps to show you today! These new stamps are available to buy right now from the Whimsy Stamps store along with all your Whimsy favourites. We also have our wonderful special guests joining us for this hop - the amazing trio of BevDeb, and Beate!

Here is a full list of the super fabulous new rubber stamps being released today:

Winter's Joy (Crissy Armstrong)
Valerie's Gift (Crissy Armstrong)
I'd Follow You Anywhere (Crissy Armstrong)
Love in a Bucket (Crissy Armstrong)
Cozy Cap Mouse (Meljen's Designs)
Penguin's Present (Meljen's Designs)
Love Letter Seals (Raindrop Echo Designs)
Music Notes Background (Raindrop Echo Designs)
Friendship Tickets (Raindrop Echo Designs)

I will be giving "I'd Follow You Anywhere" to one lucky participant!  All you have to do to enter the draw is use the Inlinkz option at the bottom of this post!  If you don't have a blog to link to, just let me know in the comments section and I'll make sure you are entered as well.  Here is "I'd Follow You Anywhere":

If you would like to participate in the hop and you didn't arrive here from Bev's blog, please CLICK HERE to return to the beginning of the hop at Bev's blog.

The hop starts today (Wednesday December 8th at noon EST) and ends on Wednesday December 15th at noon EST.

For this hop we have 7 different prize draws - WOW! The grand prize of ALL 9 of the new release stamps is being hosted by Simonne at the very end of the hop, but there are also 6 mini candy stops throughout the hop! Of course as you can see, I am one of them, but  I'm not going to tell you where the rest are, so you'll just have to keep on hopping to find them! *wink* 

For my blog hop creation I used Winter's Joy which I illustrated.   Here is your close-up:
I coloured her using water colour techniqes and water based Tombow Pens and Distress Inks.   I made her sparkle with glitter on her boots and Smooch Pearlized Top Coat on her scarf and hat.  The side view shows the sparkle more:
The sweet sentiment is by Ann of Raindrop Echo Designs and is found in her Winter Letter Seals set.  
So now it's time for you to continue the hop by hopping on over to Beate's blog where I know she has something amazing to show you!

Finally, here is a complete blog hop list in hopping order:

Here is a place where you can link your blog so you can be entered into the candy draw.


Thank you so much for hopping with us today and I hope you enjoy the new releases!

Wednesday, December 1, 2010

Whimsy Digi Blog Hop is ON!!

Welcome to my blog and the last stop on the Whimsy hop that kicks off December's digi release!  It's a big one, with new digi's from me, Ann, Katie and Melissa of Meljen's Designs. Plus me and Mel have coloured up some images for you to use as pre-coloured images!  Each file is JPG at 300dpi for high print quality.  And as usual, you can alter, resize, flip, or crop these images to your heart's content! 
If you have come from Sandra's blog, you are right on track.  If you want to start at the beginning and go all the way through, start at The Whimsy Blog where the hop order will be posted for your convenience. 
Now since I am the last stop, I will be choosing a grand prize winner from the comments on this post! But be sure to leave comments along the whole hop because two more blogs will also be randomly chosen to dish out some free images.  
The grand prize I will give to one lucky commenter will include their choice of five Whimsy digital images, and the chance to use those images as a GUEST DESIGNER for the month of December!  How cool is that! Chillin with the Whimsy Chicks for a month. 
You have until Tues. Dec 7th at noon to complete the hop.  Hop winners will be announced sometime after that. :-)
The first set of cards uses "Leap of Joy" fully coloured.  Now this image, and all the coloured images now for sale are also available as regular black-and-white images as usual.  Here is a link to the regular black and white version of Leap of Joy.
Here is a close-up of what the pre-coloured image will look like when you purchase it for immediate download (minus the watermark of course!):
I coloured the original on water colour paper using water based inks, namely Tombow Pens and Distress inks.  The white snow was hand painted with Copic White after the water colours were dry.
I wanted to chat with you about the pre-coloured images Whimsy is now offering.
I realize that a lot of us find the fun part of making the card is the
colouring. That being said, it is also great to be able to make up a card in a
hurry when you need to.
The upcoming holidays esp put a lot of pressure on us to get cards made. And
sometimes, it is impossible to make a card for everyone on your list, just for
sheer volume.
The pre-coloured images offer a workable solution to that problem!
I had a brainstorm idea to combine Ann's lovely digital frames with my
pre-coloured images and make cards on my computer that I could simply print off!
Once you create the template, it is so easy to just hit "print". Then after a
trim and a fold, voila, you've got your card! It is still hand made, but it
only takes a couple of minutes of your time!
Now mind you, the pre-coloured images can still be used as we normally use an
image we have coloured ourselves. And we can still layer our cards and
embellish them as always. (see the post below this one for an example)
I just wanted to point out that the other option, to print off a simple flat one
layer card, is also there.
I used a combination of effects found in iPhoto and Photoshop Elements 8 to
create the image templates. I then brought them into Word where I resized them and added text.
It was such a dream to work with the beautiful frames Ann created for us! It
was fun to add some colour to parts of them, and to stretch them to fit my
pictures. I think her frames plus pre-coloured digi images is the perfect
marriage!
The deer card used Ann's Happy Holidays frame from Dressed Up Shapes 2. 
If anyone has any questions as to how I did any of it, I'd be happy to answer
you.  I won't be doing a tut on this anytime soon.  I really don't know how to go about that, as it was all done on computer.  And with so many different photo shop type programs out there, telling you how I did it on mine will only help those who have the same programs I have.  Nonetheless, if this computer-challenged non-geek can do it, anyone can! lol
Here's what I printed on the inside:
And on the back:
Here is another sample using "Touched By Love" pre-coloured digi in combination with another frame from the Dressed Up Shapes 2 set or sold individually as Curvy Frame Small Dots
I'm using these cards to also kick off my December challenge over at Sundays With Crissy.  Our theme for the whole month of December is Christmas is Coming or Winter is Here (your choice). Please join in the challenge if you can, and show us your Christmas or Winter cards!
Why not pay a visit to the Whimsy Store to see all the new digi's available, and mark your calendars for a new RUBBER RELEASE coming DEC 8th!
Thanks for your time today!