Friday, November 17, 2023

Christmas Doggies 2nd card

Sometimes I find it fun to make up a quicker (for me) card where I don't create the background, but instead use a beautiful sheet of paper designed for Whimsy Stamps! This is a case of, the paper was too pretty to cover up!  And I found it went so well with this little doggie and the die cut snowflakes! The outside striped layer was made by cutting strips of a sheet that I printed from Christmas Traditions digital paper.  I coloured the doggie with Copic markers.  Here is your close-up:

All the product links are listed below - and If you make a purchase at Whimsy Stamps by following one of my links,  I get compensated (at no extra cost to you) even if it isn't a product from my line -  And of course I get compensated for every purchase you make from my line of images at Whimsy too.  Thank you so much for your kind support - because it means I get to continue drawing for Whimsy and having fun with all of you!
Thanks so much for looking!


Elves On Christmas (again!)

So this little elf is just way too fun to colour and I had to make another card with him!  I used Copic markers, and fussy cut him, then made my background with Oxide inks and Copic white paint.  I again used a hand made stencil to make the swirls of snow by spattering the Copic White paint off a paintbrush - and it only landed in the swirly "holes" I had cut out of my "stencil".  It makes up a quick background when I use Oxide inks and a few splatters of paint or water.  It is so satisfying! Finished it off with a few die cuts, a layer to frame it, and voila, called it done! 
All the product links are listed below - and If you make a purchase at Whimsy Stamps by following one of my links,  I get compensated (at no extra cost to you) even if it isn't a product from my line -  And of course I get compensated for every purchase you make from my line of images at Whimsy too.  Thank you so much for your kind support - because it means I get to continue drawing for Whimsy and having fun with all of you!
Thanks for stopping by!


Tuesday, November 14, 2023

Elves On Christmas (again!)

I am just in love with the red white and green at this time of the year! (truth be told, ANY time of year, heheh!) But this is the time when I get to indulge in it!  For this card, I used Copics to colour my image, then I created a mask for it, applied the mask, and then sponged on some Old Paper Oxide ink.  Then I splattered it a bit with water, then some greenish brown water colour, just so it wasn't a solid colour, all flat with nothing else going on.  I had a wonderful time getting my snowflakes all snowy using a spray glue and some glass glitter!  I know it doesn't sound like I mean it, but I do! I got it down to a system, so I wasn't too overwhelmed with sticky gluey fingers and tiny pieces of glass! I use a box, and put the snowflakes in the box so that there's no overspray on my table.  Then I used tweezers to pick up each piece, and dip it into the crushed glass, and set it down on a sheet of paper to dry.  It did gum up the tweezers, but a little soak in nail polish remover got rid of that in a jiffy! 
On the elf herself, I went over her green clothing with a Wink of Stella pen to give her a real shimmer and shine!  I put an extra photo down below so you could see how sparkly it is! 
I made the striped paper with the Brushed Stripes red rubber stamp, and some bright red Color Box pigment ink and let it dry before trimming it to fit. 
All the product links are listed below - and If you make a purchase at Whimsy Stamps by following one of my links,  I get compensated (at no extra cost to you) even if it isn't a product from my line -  And of course I get compensated for every purchase you make from my line of images at Whimsy too.  Thank you so much for your kind support - because it means I get to continue drawing for Whimsy and having fun with all of you!
Look at the shimmer on her outfit, oh my! :-D


Monday, November 13, 2023

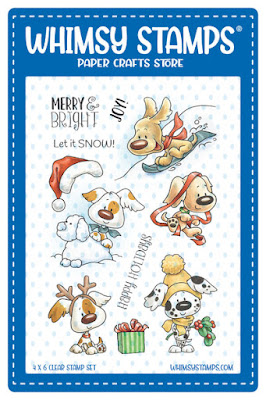
Christmas Doggie!

This set makes for some cute Christmas cards for all your dog loving friends! Who could resist their little faces and fun loving attitudes! I coloured the image with Copics, and then made a mask for it, so that I could safely apply some Oxide inks to make a soft background.   For the hills in the foreground and mid ground, I also used a masking technique, by simply using the border dies (shown below) to cut out some hills that I could then use as masks.  They allowed me to apply the ink in a rounded way, which made the appearance of hills!

The swirly snow in the sky was fun to do.  I made a paper stencil by cutting out some hand drawn swirls - then I laid the paper with the swirl cut-outs over top, while all the other masks were still tacked down; then I sprinkled on some white Copic paint from a water colour brush, until the specks of paint filled in the swirly areas of my hand made stencil.  Then I took that stencil away, and filled in a few more paint spatters in various places.  Then it was off with the rest of the masks, to reveal the scene (my most favourite part of the process for sure!). 

All the product links are listed below - and If you make a purchase at Whimsy Stamps by following one of my links,  I get compensated (at no extra cost to you) even if it isn't a product from my line -  And of course I get compensated for every purchase you make from my line of images at Whimsy too.  Thank you so much for your kind support - because it means I get to continue drawing for Whimsy and having fun with all of you!

Thanks for coming by!


Moose't Wonderful


a
It's the Moose't Wonderful time of the year!  Heheh.  Got these two moose cards made and you know, I don't even know yet if I will use them for a winter birthday or for Christmas cards... that is yet to be decided... all that to say, this is a versatile set that can be used for either or both.  I coloured the little moose with Copics and fussy cut him out to place him in the scene.  I set the scene with some Oxide ink blending and using the new Three Trees Border die.  That die is going to get a lot of use during the winter months!  I love it - it's so simple and yet it has such an impact for a cute background scene! 
I used the little bits that I die cut from the Glitter Globe set to pepper the sky with cute snowflakes.  Glad I had a good pair of tweezers to glue them in their place - couldn't have done the job without tweezers, let me tell ya! ha!
All the product links are listed below - and If you make a purchase at Whimsy Stamps by following one of my links,  I get compensated (at no extra cost to you) even if it isn't a product from my line -  And of course I get compensated for every purchase you make from my line of images at Whimsy too.  Thank you so much for your kind support - because it means I get to continue drawing for Whimsy and having fun with all of you!
Thanks so much for visiting!


Friday, November 3, 2023

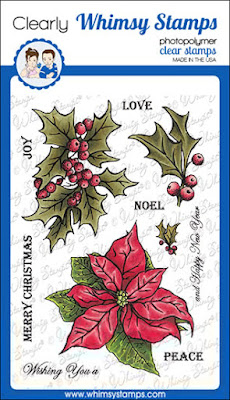
Vintage Poinsettia


It's been awhile since I did any watercolouring, and this beautiful poinsettia stamp reminded me how much I enjoy it!  I should crack open my Twinkling H20's more often!  I love how this turned out.  I opted for a crisp white background so all I had to do was paint the leaves of this gorgeous Christmas flower.  I used a pad of 9 x 12 Canson 140 lb cold press water colour paper and stamped the image with Versafine Onyx Black.   I chose the favourite colours of the person who will be receiving this card.  The sparkly frame was die cut from an old envelope (the inside lining) that I had kept to use one day, and this was the day.   It added just the right amount of holiday sparkle!
The stitched ovals for the sentiment came from two different die sets and they happen to fit together beautifully.  
All the product links are listed below - and If you make a purchase at Whimsy Stamps by following one of my links,  I get compensated (at no extra cost to you) even if it isn't a product from my line -  And of course I get compensated for every purchase you make from my line of images at Whimsy too.  Thank you so much for your kind support - because it means I get to continue drawing for Whimsy and having fun with all of you!


Wednesday, November 1, 2023

Nativity


I used to adore the little Nativity set that we had when I was a child.  We would put it out in December, but, my father would always keep the baby Jesus aside and not let it be included in the display until Christmas morning!  I enjoyed staring at the various pieces, but wasn't allowed to play with them.  O I so wanted to! But I would imagine what it was like for the people and the animals who got to witness the birth of the King of Kings!  And occasionally, my mother would allow me to "reposition" them, heheh, as I dreamt up stories and conversations that they were having.  
So anyhoo, my card - I enjoyed making this scene card so much - and it is super easy to do the colouring in the background when you have the reposition-able no-fuss masks to help you out.  I would highly recommend you get them for this stamp set, because it makes putting them into a scene so much easier.  
After I had the characters all stamped out and coloured with Copic markers,  I masked them up, and then began to fill in the sky.  For the sky and ground, I started with Oxide inks: I created the glow around the star with Squeezed Lemonade, then blended into Prize Ribbon and Black Soot to really darken the outer corners.   Then for the ground, I used some Shabby Shutters, Twisted Citron, Peeled Paint, and again a bit of Black Soot to darken the outer edges. The appearance of mist just happened - that is the beauty of the Oxide inks.  It leaves a bit of a foggy, misty glow which is perfect for this particular scene!
Once I had laid down those colours, I used some coloured pencils to fill in some details - to colour in some hills, some details of grass, and the starburst around the star.  I also used coloured pencils on the characters as well, overtop of the Copic layer, to deepen up some of the shadows.  The final touch was to add stars in the sky with a white paint pen.  It did take me a good bit of time, but I am thrilled with the result!
Thanks so much for looking!


Monday, October 16, 2023

Fairy Dreams

This is one of the fairies from the Fairy Dreams red rubber set.  This whole scene is done entirely with Copic markers, then a bit of water highlights using a white watercolour paint pen.  The background layer panel with the dusty turquoise and pink was made by blending Oxide inks.  Sentiment is from a discontinued set at Whimsy. 
This one had to be special for a sweet little girl I know, who loves these colours!  I got my inspiration by looking through Amy Young's blog,  and how she treated water and sunsets using Copics.  I love her style of colouring, and I learn a lot from her!  Especially from this beauty she did on this blog post.  I'm also lucky enough to own one of her cards that she used this fairy on! Check out her version of Fairy Dreams HERE.
Skin: E000, 00, 11, 13, R20, 0 blender
Sky: BG10, 11, RV000, 00 with V91 for some clouds
Water: BV000, RV00, BG10, 11, 23, 45, 72, 75 with a white paint pen for highlights
Leaf: Y02, G20, 14, 43, YG01, 11, 05, 25,17, 61, 67
Wings, hair, dress: RV000, 00, 55, 63, V05, R55
and a wee touch of B45 to give her blue eyes
The product link is listed below - and If you make a purchase at Whimsy Stamps by following one of my links,  I get compensated (at no extra cost to you) even if it isn't a product from my line -  And of course I get compensated for every purchase you make from my line of images at Whimsy too.  Thank you so much for your kind support - because it means I get to continue drawing for Whimsy and having fun with all of you!
Thanks for visiting!


Tuesday, October 10, 2023

Doggie Valentine Friends Anniversary card

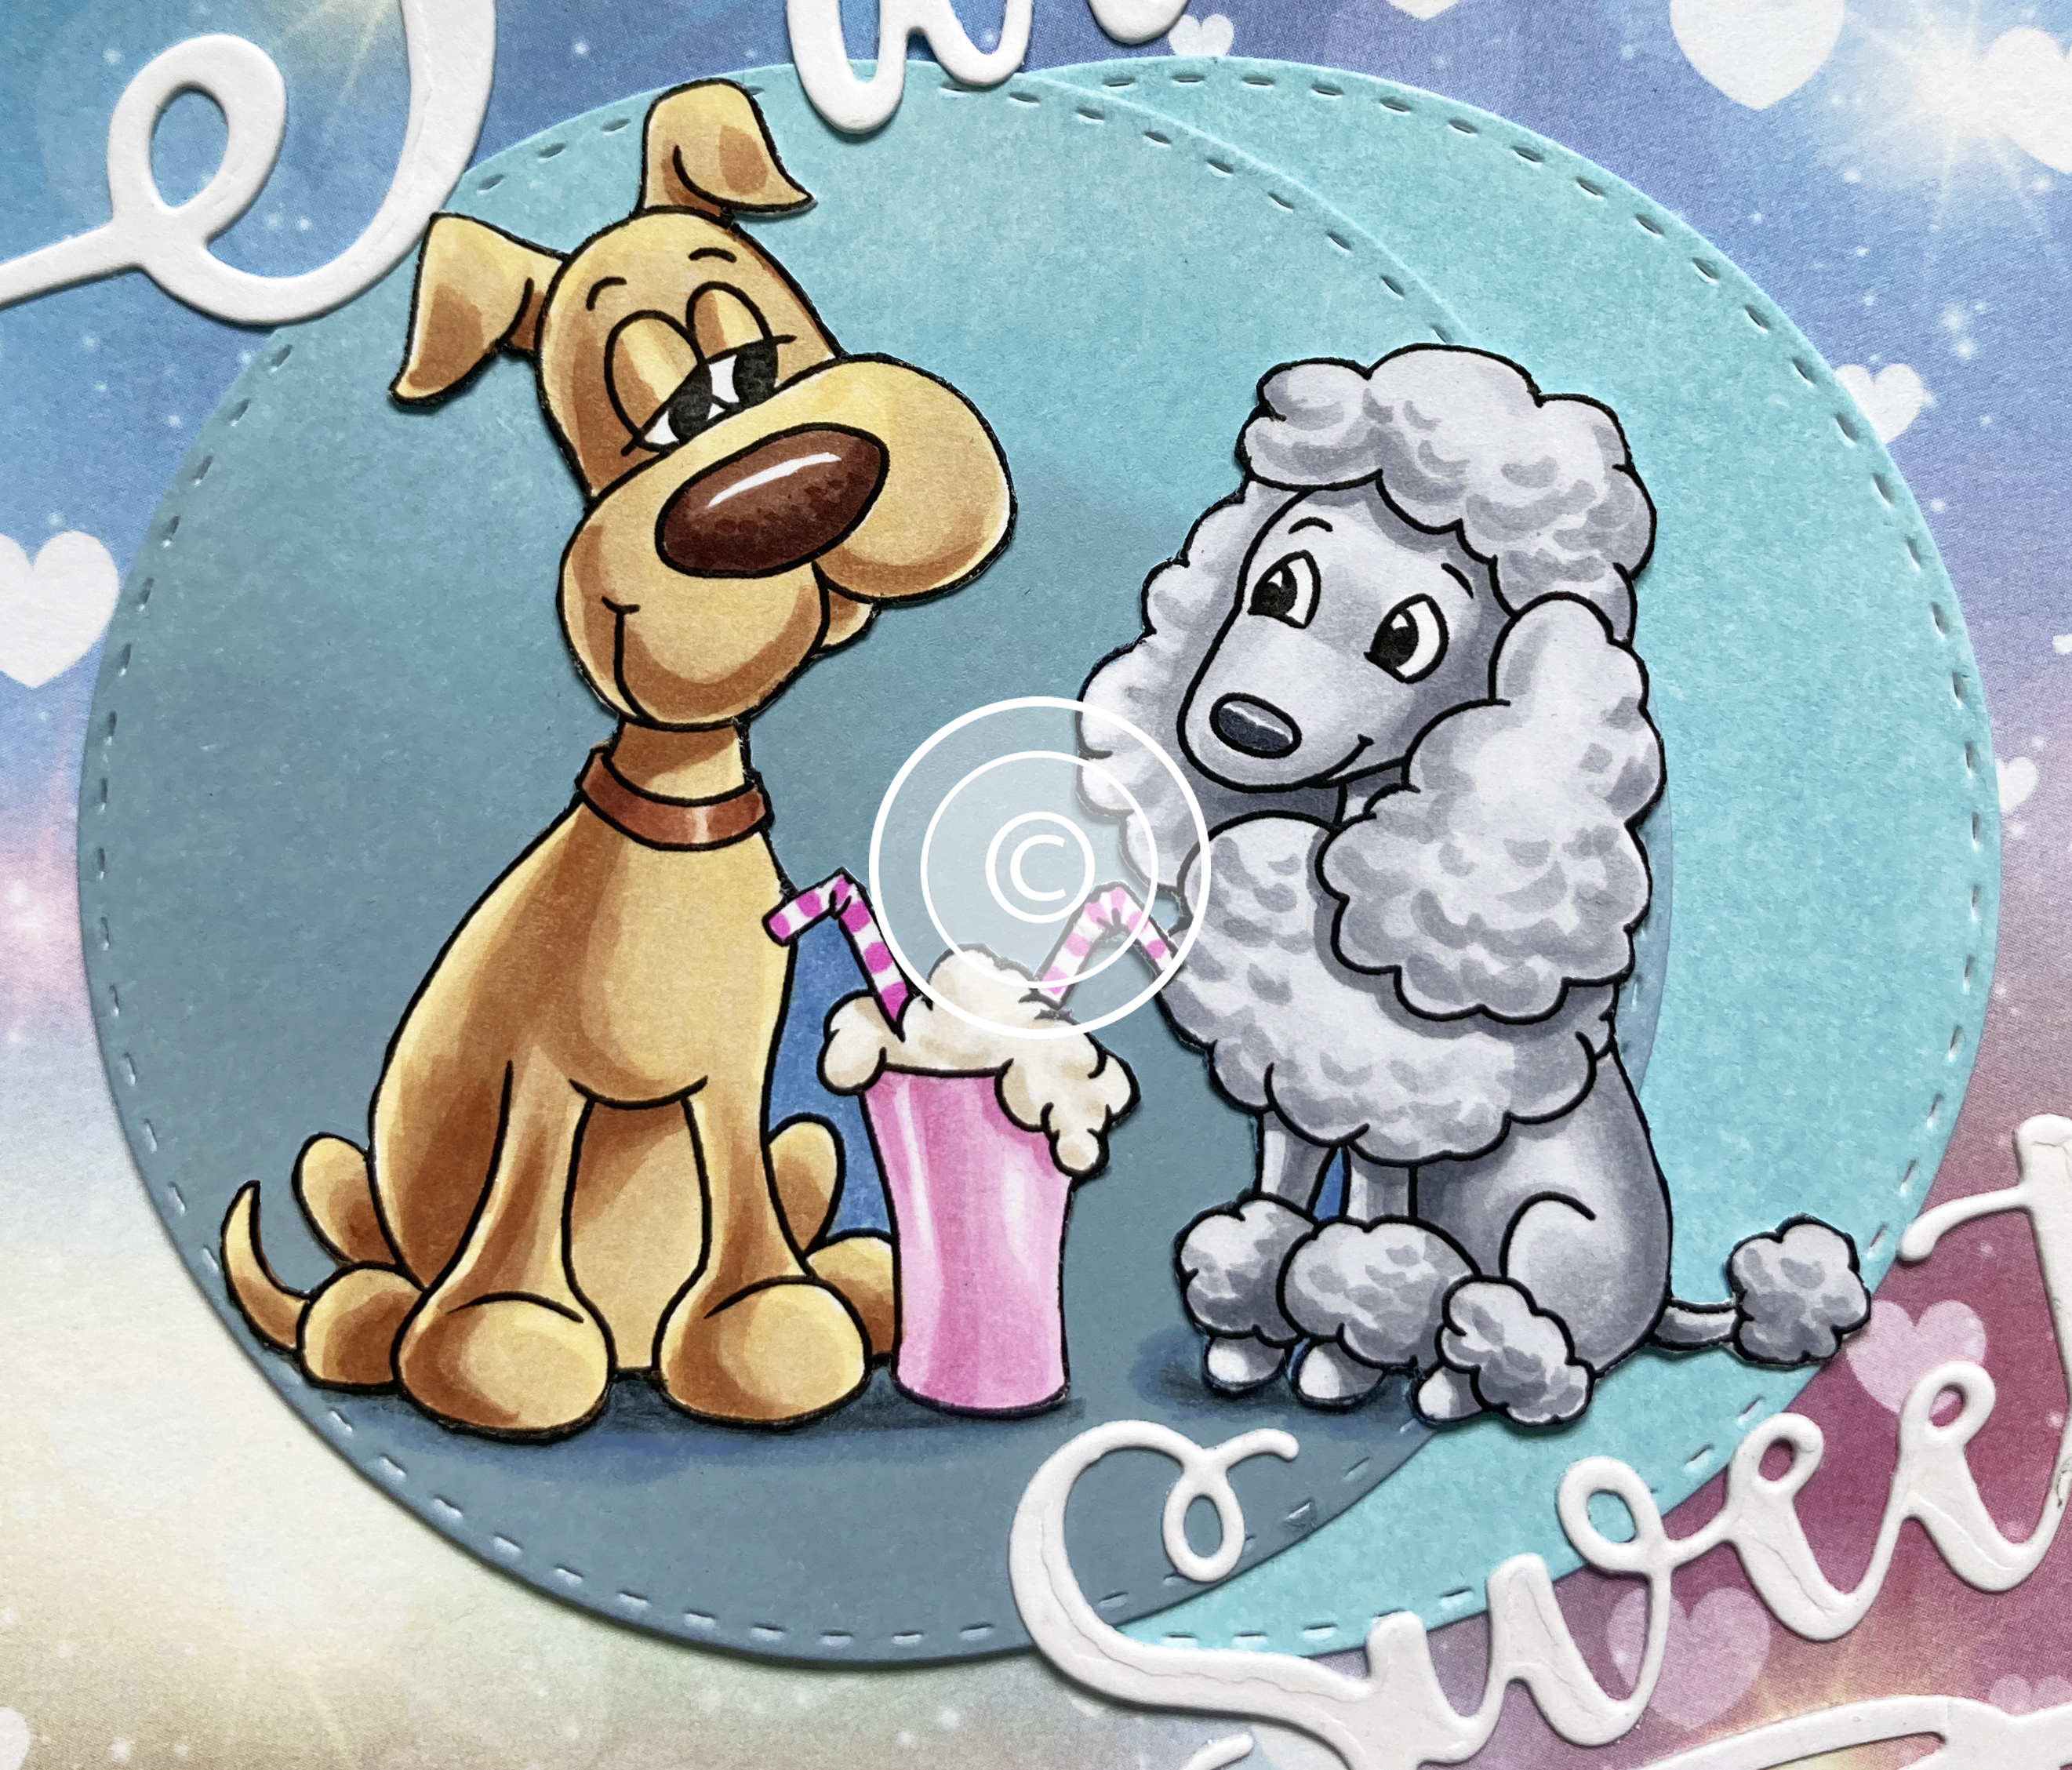
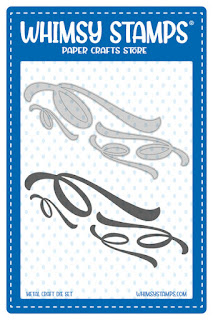
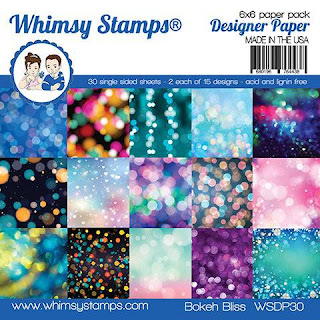
I'm not too early for Valentine's Day - this is actually an Anniversary card! I love having sets that can do double duty, and this is certainly one of them.  I coloured the images using Copics, and fussy cut them out for the card.  I used a couple of Oxide inks to make two circular backgrounds to frame up the images on the card.  The beautiful paper background is from Bokeh Bliss and I didn't even need to trim it for this card.  I used the new Loopies die set and You Are die set to go with the Sweet die set for my sentiment.  Such a simple card to make, and I love how it looks!
All the product links are listed below - and If you make a purchase at Whimsy Stamps by following one of my links,  I get compensated (at no extra cost to you) even if it isn't a product from my line -  And of course I get compensated for every purchase you make from my line of images at Whimsy too.  Thank you so much for your kind support - because it means I get to continue drawing for Whimsy and having fun with all of you!
Thanks for looking!