Wednesday, August 23, 2023

Cat-O-Lanters 2nd card!

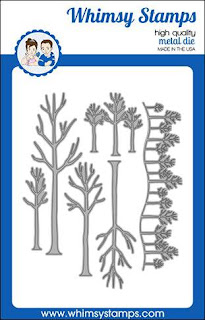
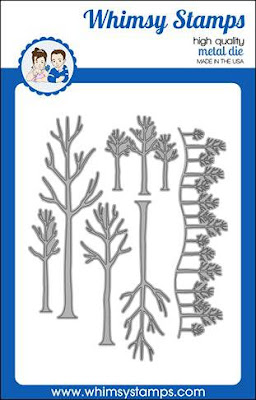
I can't tell you how fun it is to create these glowing spooky scenes with these Halloween cats and some colourful oxide inks!  Thanks again to Sylvie of Kaliscards for inspiring the colour scheme.  She is such an amazing card artist, and if you haven't been to her blog yet, you really must go.  I used the Tree Assortment die for the trees on either side of the image - both the die cuts, and also, I used the paper that I cut the trees from as a stencil to ink on some other branches in the background.  I like that they look like they are fading into the mist.  You may have already had that idea before, about making your own stencils using the paper from die cuts, but this is the first time I have ever done so! And it's cool!  I used Black Soot as my faded tree ink, and didn't overdo it so that they came out a nice soft grey.  I actually cut my own stencils as well for some blades of grass that I placed around the pumpkin using Pine Needles Oxide ink.  Again, not using a lot of pressure, nor a lot of ink, and being careful not to fill in around the base of the blades - but just fade it out into the foreground. 
I coloured the image with Copics, however, I found I needed to reach for my coloured pencils to deepen the shadows, as this image called for it (I thought!). 
Again, pasting on the tree die cuts was probably the hardest part of all of this - this time I used a spray glue, but too much of it in places, and so it did leave a bit of a mess, unfortunately.  Oh well, this was a learning experience after all, as every card I make is. :-)
All the product links are listed below - and If you make a purchase at Whimsy Stamps by following one of my links,  I get compensated (at no extra cost to you) even if it isn't a product from my line -  And of course I get compensated for every purchase you make from my line of images at Whimsy too.  Thank you so much for your kind support - because it means I get to continue drawing for Whimsy and having fun with all of you!
Thanks so much for looking!


Monday, August 21, 2023

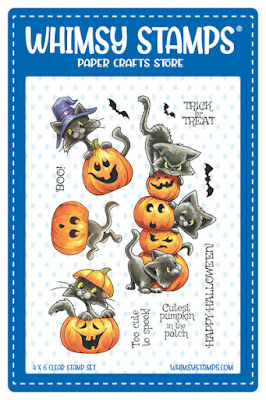
Cat-O-Lanterns!


I didn't used to make Hallowe'en cards, but I have gotten bitten by the bug (or spider, since it is Hallowe'en, heheh!) I now have a bunch of grandkids to give them to as well, so hey, I have joined in the fun! And fun it is, to make a spooky looking card (and still keep it cute, as that is after all, my wheelhouse!) I love how the cat on the ground is eyeing the tail of the next cat up on the pile, heheh, just so cat-like... he's going to pounce any second and you know it, heheh!
A big shoutout to Sylvie of Kaliscards for making me stop dead in my tracks (ha, another fright night reference there!) with her oh-so-gorgeous Got Peepers card!  Her card inspired my colour palette and I was so excited to copy-cat (heheh, yeah, cats were involved!) because she inspired me so much! Thank you Sylvie, for sharing your stunning Halloween card and for being such an inspiration!  Please go visit her blog and take a peek around.  She is really an amazing card artist!
I coloured my images with Copics, and used Distress Oxide inks for the background.  I had to make a mask for the moon and the main image before I sponged on the inks. I just had to be careful around the moon to preserved the bright yellow so that I could get that "moon glow" effect.  The trees were so easy - just die cut from the Tree Assortment die set, on black card paper.  The only tricky part was gluing all those thin branches.  I used the moon from the "Halloween Night" set. 
All the product links are listed below - and If you make a purchase at Whimsy Stamps by following one of my links,  I get compensated (at no extra cost to you) even if it isn't a product from my line -  And of course I get compensated for every purchase you make from my line of images at Whimsy too.  Thank you so much for your kind support - because it means I get to continue drawing for Whimsy and having fun with all of you!
Thanks so much for popping by!


Monday, August 7, 2023

Gnome So Thankful

I had the sweetest time making this card (heheh) using a cute gnome with his harvest of apples!  I loved colouring the details on the apple - a bit of an obsession of mine, when it comes to colouring fruit! I did allow some realism to sneak into my colouring, just a bit!  Coloured with Copic markers and touched up slightly in places with coloured pencil.  I kept the background on the circle panel simple by sponging on some Twisted Citron Oxide ink, and the apple basket and gnome were fussy cut and placed where I wanted them.  I printed the starry sky background with the gorgeous Starry Night printable digital papers at Whimsy.  One of my fav. digital packs from them. And again (as I use them a lot) I used the Pierced and Stitched Circles die along with the Notched Squares die to frame it all up. 
All the product links are listed below - and If you make a purchase at Whimsy Stamps by following one of my links,  I get compensated (at no extra cost to you) even if it isn't a product from my line -  And of course I get compensated for every purchase you make from my line of images at Whimsy too.  Thank you so much for your kind support - because it means I get to continue drawing for Whimsy and having fun with all of you!
Thanks for visiting today!


Saturday, August 5, 2023

Raccoons Happy Day


Here's another one with a raccoon from the Raccoons Happy Day clear set at Whimsy Stamps. What I love about using these raccoons on a card is that you can put them in any setting and with any colour scheme, since they are a neutral grey.  And what I love about the Winter Wonderland stencil is how quickly and easily I can create a forest scene - in any season! The entire background was done with that very stencil and Oxide Inks.  I used the balloon image but stamped it separately, coloured and fussy cut it out, then hand drew the string from the balloon to the paw as the finishing touch. 
All the product links are listed below - and If you make a purchase at Whimsy Stamps by following one of my links,  I get compensated, even if it isn't a product from my line -  And of course I get compensated for every purchase you make from my line of images at Whimsy too.  Thank you so much for your kind support - because it means I get to continue drawing for Whimsy and having fun with all of you!
Thanks for stopping by!


Friday, August 4, 2023

Raccoons How've You Bin

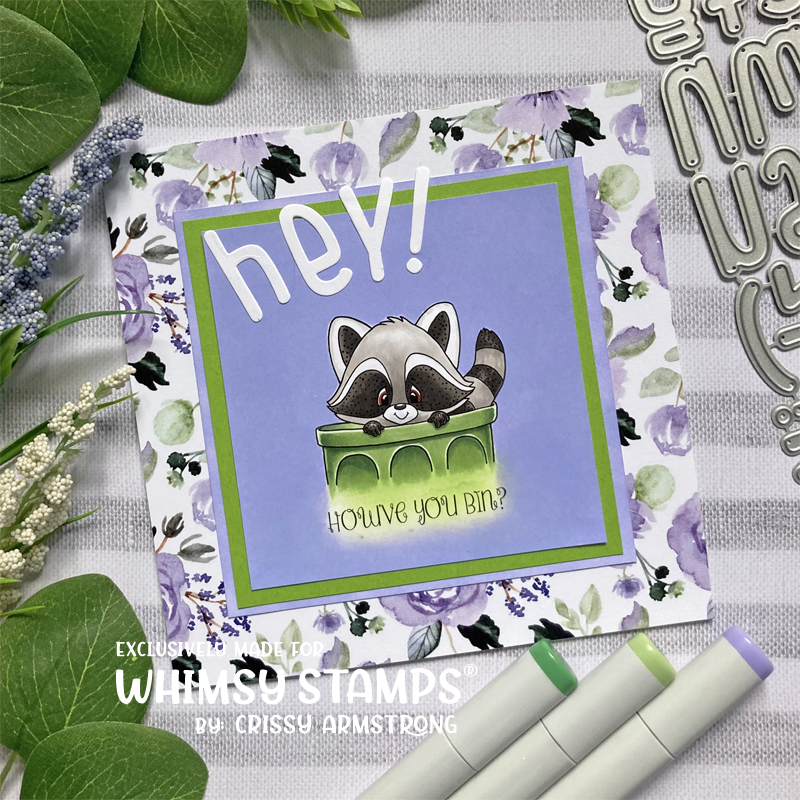
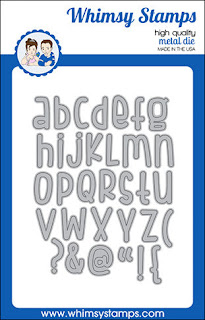
"Hey! How've you bin?" heheh, a little play on words there to give anyone a smile.  I had to make a purple one for a purple loving daughter and it was really fun to do! I first coloured the raccoon and trash bin with Copic markers, then cut out a mask and masked it so that I could sponge on Shaded Lilac Oxide Ink to create a really pretty contrast between the lilac and green.  The sheet of purple and green flowers from the 6 x 6 paper pack - Fabulous Florals - was the perfect complement to the image I had coloured! Creating a die cut word is super easy when you have the Cutie ABC die set - I love being able to do that on any card and I'm so glad I purchased that die set!
All the product links are listed below - and If you make a purchase at Whimsy Stamps by following one of my links,  I get compensated, even if it isn't a product from my line -  And of course I get compensated for every purchase you make from my line of images at Whimsy too.  Thank you so much for your kind support - because it means I get to continue drawing for Whimsy and having fun with all of you!

Thanks for visiting!


Thursday, August 3, 2023

Jungle Birthday


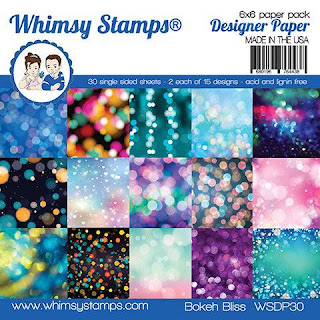
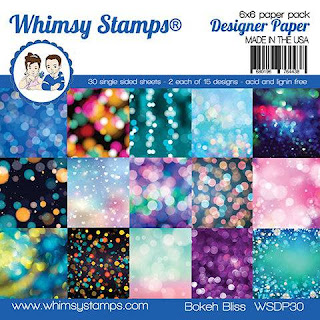
I am so inspired by the Bokeh Bliss 6 x 6 Paper Pack - it makes a fun and fast card; it is so easily paired with images because each sheet has a slightly muted, slightly blurred colour scheme that is not too busy but has just enough of a pattern on it to add some interest.  That helps to draw the eye to the main event, and complement it, without taking any attention away from it. 
I made my own coloured layers (the coral coloured die cuts) by sponging on some Candied Apple Oxide ink onto white card.  I love having an array of Oxide inks because if I don't happen to have the right plain coloured card stock on hand, I can easily make it myself using the inks! 
All the product links are listed below - and If you make a purchase at Whimsy Stamps by following one of my links,  I get compensated, even if it isn't a product from my line -  And of course I get compensated for every purchase you make from my line of images at Whimsy too.  Thank you so much for your kind support - because it means I get to continue drawing for Whimsy and having fun with all of you!
Thanks for stopping by~!


Monday, July 31, 2023

Cat Trouble!


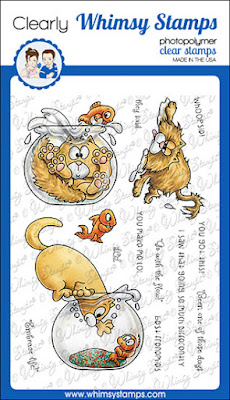
I have a couple of people to thank for the inspiration for this set, and for how I coloured Cat Trouble, which I drew for Whimsy awhile ago.  First of all, my dear friend thought it would be funny for me to draw a cat that had fallen into a fishbowl.  So I credit her with the idea, which spawned all the other images in this set.  She gave me the initial idea and I took it from there. Thank you dear friend! Secondly, I want to give the proper acknowledgement to Jennifer Dove for cards she has online that show how she treats water in a jar! That was the key for me, to making this colouring come to life.  Here is a link to her post that helped me colour the water in this glass fishbowl! Jennifer Dove's card
I couldn't have done the water without a good opaque white to contrast with the grey tones of the water.  That's why it looks 3D above the cat's head.  So if you want to replicate the look, you will need a good white gel pen or white acrylic paint pen, or just some white acrylic paint and a detail brush.  And it goes on LASTLY, after all the other colouring is finished!
All the product links are listed below - and If you make a purchase at Whimsy Stamps by following one of my links,  I get compensated, even if it isn't a product from my line -  And of course I get compensated for every purchase you make from my line of images at Whimsy too.  Thank you so much for your kind support - because it means I get to continue drawing for Whimsy and having fun with all of you!
Thanks for visiting!


Friday, July 28, 2023

Critter Babies 4


I showed this to my 4 yr old grand and she immediately made the "Awwwww" sound in a high pitched voice!  Now I consider that to be high praise! I've been making lots of baby cards lately - maybe this set is just that inspiring - but whatever the reason, I will be ready for any happy "new baby" news that comes my way, that's for sure!
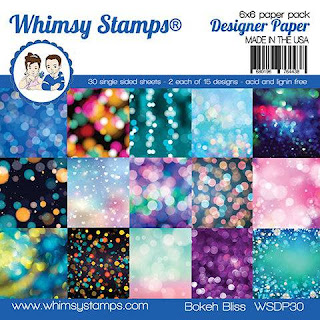
I coloured the bunny with Copics  and used a sheet from the Bokeh Bliss papers as my backdrop. 
All the product links are listed below - and If you make a purchase at Whimsy Stamps by following one of my links,  I get compensated, even if it isn't a product from my line -  And of course I get compensated for every purchase you make from my line of images at Whimsy too.  Thank you so much for your kind support - because it means I get to continue drawing for Whimsy and having fun with all of you!

Tuesday, July 25, 2023

Critter Babies 3

I had an idea to use my Critter Babies set for a one year old grand-daughter's B-Day card.  All I had to do was grab a party hat from another image (now discontinued), stamp it, colour it, and fussy cut around it. 
You could do that with any of the images in this baby animal set!  It would work for any newborn or toddler, to get a lot more use out of the set.  
I coloured the images with Copics, and used a sheet from the printable digital paper pack, Flourishing Blooms.  I doodled around the perimeter of the main image panel just to add a fun detail. But if you're not brave enough to scribble a border freehand around the image that you just finished colouring (I get that, it does scare me a little too! lol) Whimsy has some really cool doodle sets that would make that a lot easier! Check out the Fadoodles HERE.  
Here is your closeup:
All the product links are listed below - and If you make a purchase at Whimsy Stamps by following one of my links,  I get compensated, even if it isn't a product from my line -  And of course I get compensated for every purchase you make from my line of images at Whimsy too.  Thank you so much for your kind support - because it means I get to continue drawing for Whimsy and having fun with all of you!


Thursday, July 13, 2023

Raccoon Happy Day 3

Oh how I love the Winter Wonderland Stencil, it even makes a great forest scene on spring or summer cards! And I bet I could use it in the fall too if I added some gold and rust colours to the scene.  I used Distress Oxide inks to blend out a really beautiful forest background for my raccoon.  The stencil makes it come together really quickly, esp compared to using Copics to draw it by hand. I did colour the raccoon with Copics, and used them under the raccoon to suggest a grassy area.  I blended a couple of blue and turquoise Oxide inks for the card base.  I love how this one came together!
All the product links are listed below - and If you make a purchase at Whimsy Stamps by following one of my links,  I get compensated, even if it isn't a product from my line -  And of course I get compensated for every purchase you make from my line of images at Whimsy too.  Thank you so much for your kind support - because it means I get to continue drawing for Whimsy and having fun with all of you!
Thanks for visiting!