Monday, October 16, 2023

Fairy Dreams

This is one of the fairies from the Fairy Dreams red rubber set.  This whole scene is done entirely with Copic markers, then a bit of water highlights using a white watercolour paint pen.  The background layer panel with the dusty turquoise and pink was made by blending Oxide inks.  Sentiment is from a discontinued set at Whimsy. 
This one had to be special for a sweet little girl I know, who loves these colours!  I got my inspiration by looking through Amy Young's blog,  and how she treated water and sunsets using Copics.  I love her style of colouring, and I learn a lot from her!  Especially from this beauty she did on this blog post.  I'm also lucky enough to own one of her cards that she used this fairy on! Check out her version of Fairy Dreams HERE.
Skin: E000, 00, 11, 13, R20, 0 blender
Sky: BG10, 11, RV000, 00 with V91 for some clouds
Water: BV000, RV00, BG10, 11, 23, 45, 72, 75 with a white paint pen for highlights
Leaf: Y02, G20, 14, 43, YG01, 11, 05, 25,17, 61, 67
Wings, hair, dress: RV000, 00, 55, 63, V05, R55
and a wee touch of B45 to give her blue eyes
The product link is listed below - and If you make a purchase at Whimsy Stamps by following one of my links,  I get compensated (at no extra cost to you) even if it isn't a product from my line -  And of course I get compensated for every purchase you make from my line of images at Whimsy too.  Thank you so much for your kind support - because it means I get to continue drawing for Whimsy and having fun with all of you!
Thanks for visiting!


Tuesday, October 10, 2023

Doggie Valentine Friends Anniversary card

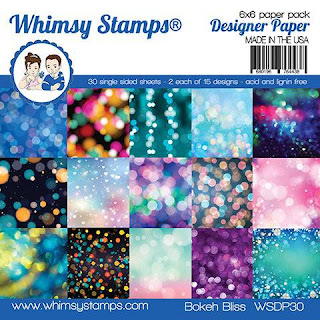
I'm not too early for Valentine's Day - this is actually an Anniversary card! I love having sets that can do double duty, and this is certainly one of them.  I coloured the images using Copics, and fussy cut them out for the card.  I used a couple of Oxide inks to make two circular backgrounds to frame up the images on the card.  The beautiful paper background is from Bokeh Bliss and I didn't even need to trim it for this card.  I used the new Loopies die set and You Are die set to go with the Sweet die set for my sentiment.  Such a simple card to make, and I love how it looks!
All the product links are listed below - and If you make a purchase at Whimsy Stamps by following one of my links,  I get compensated (at no extra cost to you) even if it isn't a product from my line -  And of course I get compensated for every purchase you make from my line of images at Whimsy too.  Thank you so much for your kind support - because it means I get to continue drawing for Whimsy and having fun with all of you!
Thanks for looking!


Friday, October 6, 2023

Teddy Bear Christmas Eve 2

Here's another one using a bear from Teddy Bear Christmas Eve.  He's all ready to decorate the tree! He is coloured with Copics and then fussy cut, and popped up on the background with foam tape for some dimension.  I stamped up the striped background with the red rubber cling "Brushed Stripes, and needed to cut out a few panels to fit around the perimeter to frame the card.  I used Faye's "FaDoodle Holly" set for the word "Christmas", and the word "Merry" from the "Elves On Christmas" clear set.  The gorgeous paper background is a sheet from one of my all time fav paper packs, "Blurry Flurries.  I just trimmed it to fit. The swirls are from a new die set called "Loopies".  I can see a lot of "loopies" in my future! heheh I think they make the perfect accent on this card and I love them! 
All the product links are listed below - and If you make a purchase at Whimsy Stamps by following one of my links,  I get compensated (at no extra cost to you) even if it isn't a product from my line -  And of course I get compensated for every purchase you make from my line of images at Whimsy too.  Thank you so much for your kind support - because it means I get to continue drawing for Whimsy and having fun with all of you!


Thanks so much for visiting!


Thursday, October 5, 2023

Teddy Bear Sweet


This little Teddy Bear has quite a collection of Christmas cards to send (or, did he just pick them up from the post box?).  I remember when we used to get a huge pile of Christmas cards in December when I was growing up.  They sometimes arrived in red and green, gold or blue envelopes too, which I found extra exciting to see.  It was such a cheery thing to have happen every Christmas season, and I am doing my part to keep the tradition going!   
I coloured the bear first with Copic markers, and then went over it with some coloured pencils. I masked it up to fill in the background using the Winter Wonderland Stencil and some Oxide inks. 
I just love a grey and snowy day and that is the look I was going for!  I completed the look with the Evergreen Trees die set.  The snowdrops were done using Copic White on a paintbrush and tapping the paintbrush to make the spatter effect (with the mask still on the image - oh, and I doubled the mask with an extra piece of paper because those splatters can penetrate a single sheet of computer paper).  It would have been easier with the No Fuss Masks from Whimsy Stamps but I have yet to order mine - definitely a must-have, especially with these teddy bears as I can foresee a lot of Christmas cards yet to be made with these guys! 
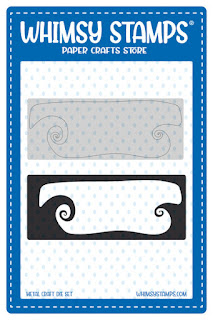
All the product links are listed below - and If you make a purchase at Whimsy Stamps by following one of my links,  I get compensated (at no extra cost to you) even if it isn't a product from my line -  And of course I get compensated for every purchase you make from my line of images at Whimsy too.  Thank you so much for your kind support - because it means I get to continue drawing for Whimsy and having fun with all of you!

Thanks for stopping by!


Tuesday, October 3, 2023

Teddy Bear Christmas Eve 2

I'm so into Christmas cards these days, and so into these teddy bears! This is another one from the "Teddy Bear Christmas Eve" clear stamp set.  I coloured it up first with Copics, then with some coloured pencil.  I masked it off to ink up the background using Oxide inks.  Then did a spritz of some water droplets, and added some white droplets with an acrylic paint pen.  For the swirls on the side, I used the Nightmare die on green cardstock, but also on a sheet I had stenciled up myself, using the Sun Rays die and red Oxide ink.  The red and white paper was printed off from the Christmas Traditions digital pack at Whimsy.  I love the look of the swirly accents! It tends to go nicely with the swirls on the red digital sheet too! There's something so magical and beautiful about swirls, stripes, and red and green... I dunno, maybe I just LOVE CHRISTMAS or something.... you'd never guess... right?!!  ;-)
All the product links are listed below - and If you make a purchase at Whimsy Stamps by following one of my links,  I get compensated (at no extra cost to you) even if it isn't a product from my line -  And of course I get compensated for every purchase you make from my line of images at Whimsy too.  Thank you so much for your kind support - because it means I get to continue drawing for Whimsy and having fun with all of you!


Sunday, October 1, 2023

Elves On Christmas

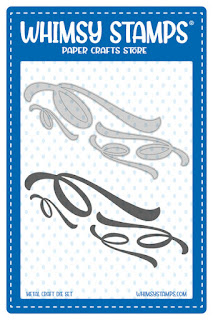
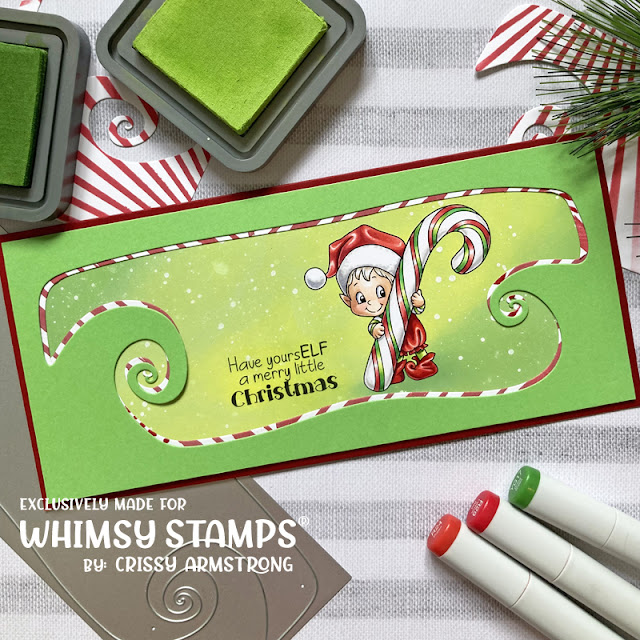
I couldn't wait to pair up this image from Elves On Christmas (clear set) with this "Nightmare Die".  They just seemed to me to be made for each other.  And with the addition of making my own striped paper using the Sun Rays Stencil, I was all set! The placing of the red and white striped paper took some fancy cutting and maneuvering, that's fer sure, but once I got it placed where I wanted, with just a little peeking out from the edge, I was all set! I had to cut the striped layer in half in order to get it to show on both the top and the bottom by placing it in an offset way under the first die cut layer.  
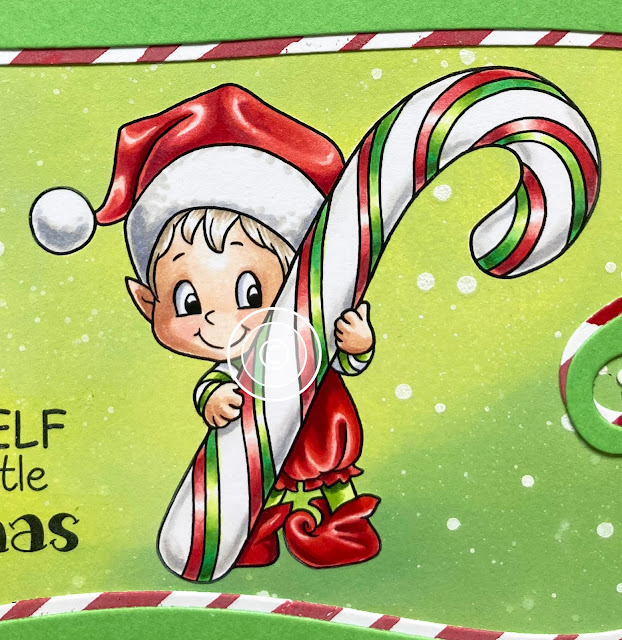
The image was coloured with Copics and then I masked it off (a home made mask) so I could sponge on some Oxide inks for a background. I spritzed a few drops of water on the ink while I still had the image masked, and then added some droplets of Copic White paint as well.  I layered it on a red card base for the final touch. 

All the product links are listed below - and If you make a purchase at Whimsy Stamps by following one of my links,  I get compensated (at no extra cost to you) even if it isn't a product from my line -  And of course I get compensated for every purchase you make from my line of images at Whimsy too.  Thank you so much for your kind support - because it means I get to continue drawing for Whimsy and having fun with all of you!

Thanks so much for stopping by!