Wednesday, September 28, 2022

Cat Do Christmas!


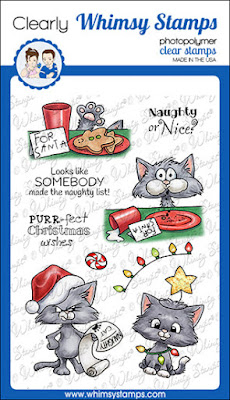
Hi all! I love how this Cat Do Christmas set along with the Film Strip die can tell a story... aren't all cats like this though, they can be such angels, and then... ha ha, look out! But they never think they are actually being naughty, do they... nah, they're just being themselves! ha ha
I kept this in traditional Christmas colours and used Copics on the images, as well as a little bit of grey coloured pencil to give the fur some more detail.  
I used a St Patrick's Day confetti mix - all I had to do was remove any shamrocks that popped out of the package, and it does double duty for a Christmas card!  Maybe they will come out with a Christmas confetti in the next few weeks - I'm going to keep my eye out for that! 
Product links are all below and if you click on them and purchase any of these Whimsy products I do get compensated, so thank you in advance if that's you!



 

Tuesday, September 27, 2022

Served With Love

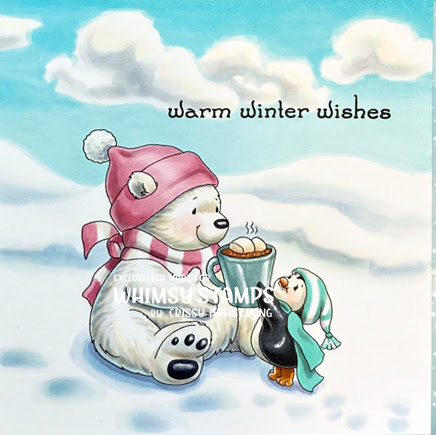
An oldie and a goodie, Served With Love is the feature image on this card, and it is a digital stamp that you could have today if you want, since buying a digital image means an immediate download for you at Whimsy Stamps (hint, hint, ha ha!). I used Copics to colour this image and scene, which is super fun for me (I love doing snow and I love doing clouds with my markers!!).  You can't really go wrong with clouds or with snowy hills, so it's an easy peasy scene to do.  The background paper is from Whimsy's gorgeous paper pack, "Blurry Flurries", and I had to get another one this year because I love it SO much! It has a lot of sparkly and bokeh papers that just add so much beauty to a card.  Also used the sentiment from the Holiday Mini Sentiments Clear Stamp set, which has numerous sentiments for many different occasions, another "must have" from the Whimsy store if you ask me! Here is your close-up, and links are all below if you want any of the products demonstrated on this card.  If you follow my links, I get compensated, so if that's you, thank you!
Thanks for visiting today!


Monday, September 26, 2022

Monster card!

Monster Birthday and Monster Moods are the two sets that I used for this fun card that I made for one of the Grands!  Images coloured with Copic markers. Background paper printed at home from my digital set, Christmas Azure digital paper.  The confetti is from Whimsy's Confetti Mix - Cozy Winter. Links are all below, thanks for looking, and thanks for clicking the links if you want any of these products - I get compensated if you use my links, so thanks in advance if that's you! Have a great day!
Here's your close-up:


Tuesday, September 13, 2022

Halloween Magic!

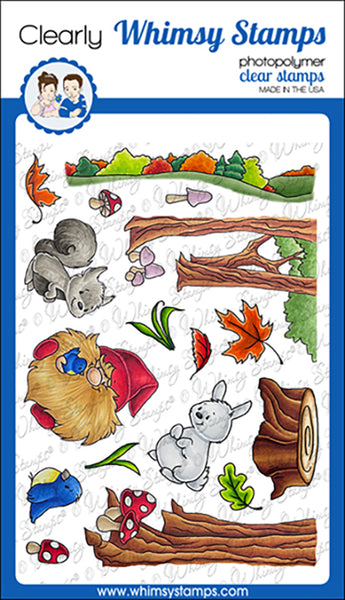
Hi peeps!  I thought I would do something a little different today (Halloween cards are not my usual!) and I'm SO glad I did!  I just love how my scene turned out!  It was super easy to create a scene using the stamps from my Gnome Make A Scene Forest set from last year, in combination with one of the witch characters from my Halloween Magic Clear Stamp set!  I decided to make it a daytime scene because I wanted to celebrate the vibrant fall colours that are so breathtaking at this time of year.  
All it took was a little masking to set my witch into the forest scene.  The large leafy pile in the foreground was made by fussy cutting the leaves I had stamped and gluing them down randomly.  I coloured the scene using a mix of Copics first, then I added some Prismacolor pencils on top in certain areas  - the tree trunks, the witch, and the shadows on the ground. 
I had fun making the sentiment using the new "Boho Alphabet" clear stamp set.  I am really happy with how it turned out and will be using that one often, methinks! 
Here is your close-up and product links (I do get compensated if you purchase any of these products following the links I provided, so thank you if that's you!):


Saturday, August 20, 2022

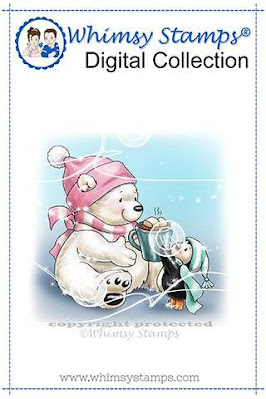
Polar Bear's Christmas Tree

FINALLY got a jump on Christmas cards this year!  My first one of the year - I better get crackin' if I want to make one each for all my family and friends!  I have lots more to go - but it is a labour of love, and my FAVOURITE time of the year!! Wooohooo! Ain't nuthin' like making beautiful, fun, happy Christmas cards to celebrate everything Christmas! And there are SO many different ways to celebrate it, and so many colour palettes to choose from (not just red, gold and green as you can see)! 
I coloured this image using Copics first, but then a layer of coloured pencil on top.  I sometimes enjoy doing that because for one thing, alcohol colours tend to fade rather quickly (within a month or two, it has lost it's vibrancy).  Adding a layer of coloured pencils help it to retain the colour.  Also, I can get those really deep shadows that I'm aiming for that seem to elude me with Copics - I need to try using my greys to get those shadows deeper, and I will try that sometime (I've heard it works!).  
I've included a close up so you can see the colouring.  Links are posted below (I do get compensated if you use them to make a purchase, so thanks in advance if that's you!). 
Thanks for popping by! 

The Polar Bear image is also available in digital: 


Tuesday, August 9, 2022

Mermaid Moments

This is for my purple loving daughter! I hope she likes it!  I used some of the characters from Mermaid Moments clear stamp set from Whimsy Stamps.  I coloured them with Copics first, then went over them with Prismacolour pencils.  The scales were done by using the clear ink blending Copic marker by just holding it down on the paper until the colour was pushed deep into the paper fibres.  It leaves behind a small area of lighter colour, which can show the effect of scales.  It's only about a second or two of holding it down on the page, and that's all it takes.  With the Prismacolour pencil, I intensified the contrast by colouring in a darker purple around each "scale". 
The images were fussy cut on the black illustration lines. To me, that is probably the hardest part of this whole process! I also like to go over any white spaces left behind with either a marker or with a Prismacolor pencil. You can see how I did that on the seahorse - I wasn't about to get bogged down with fussy cutting on those little dips of his fins, no way no how!  So I just matched the white space to the colour of the paper they were on, which, by the way, is a sheet from the Under The Sea Slimline Paper Pack at Whimsy Stamps.  Please use links below if you are interested in purchasing any of these stamps, dies, or the paper.  I do get compensated if you do, so thank you in advance!  It helps to keep me drawing more images for you! 


Thanks so much for stopping by today! Happy Crafting!

Sunday, July 31, 2022

Cat Me-Wow

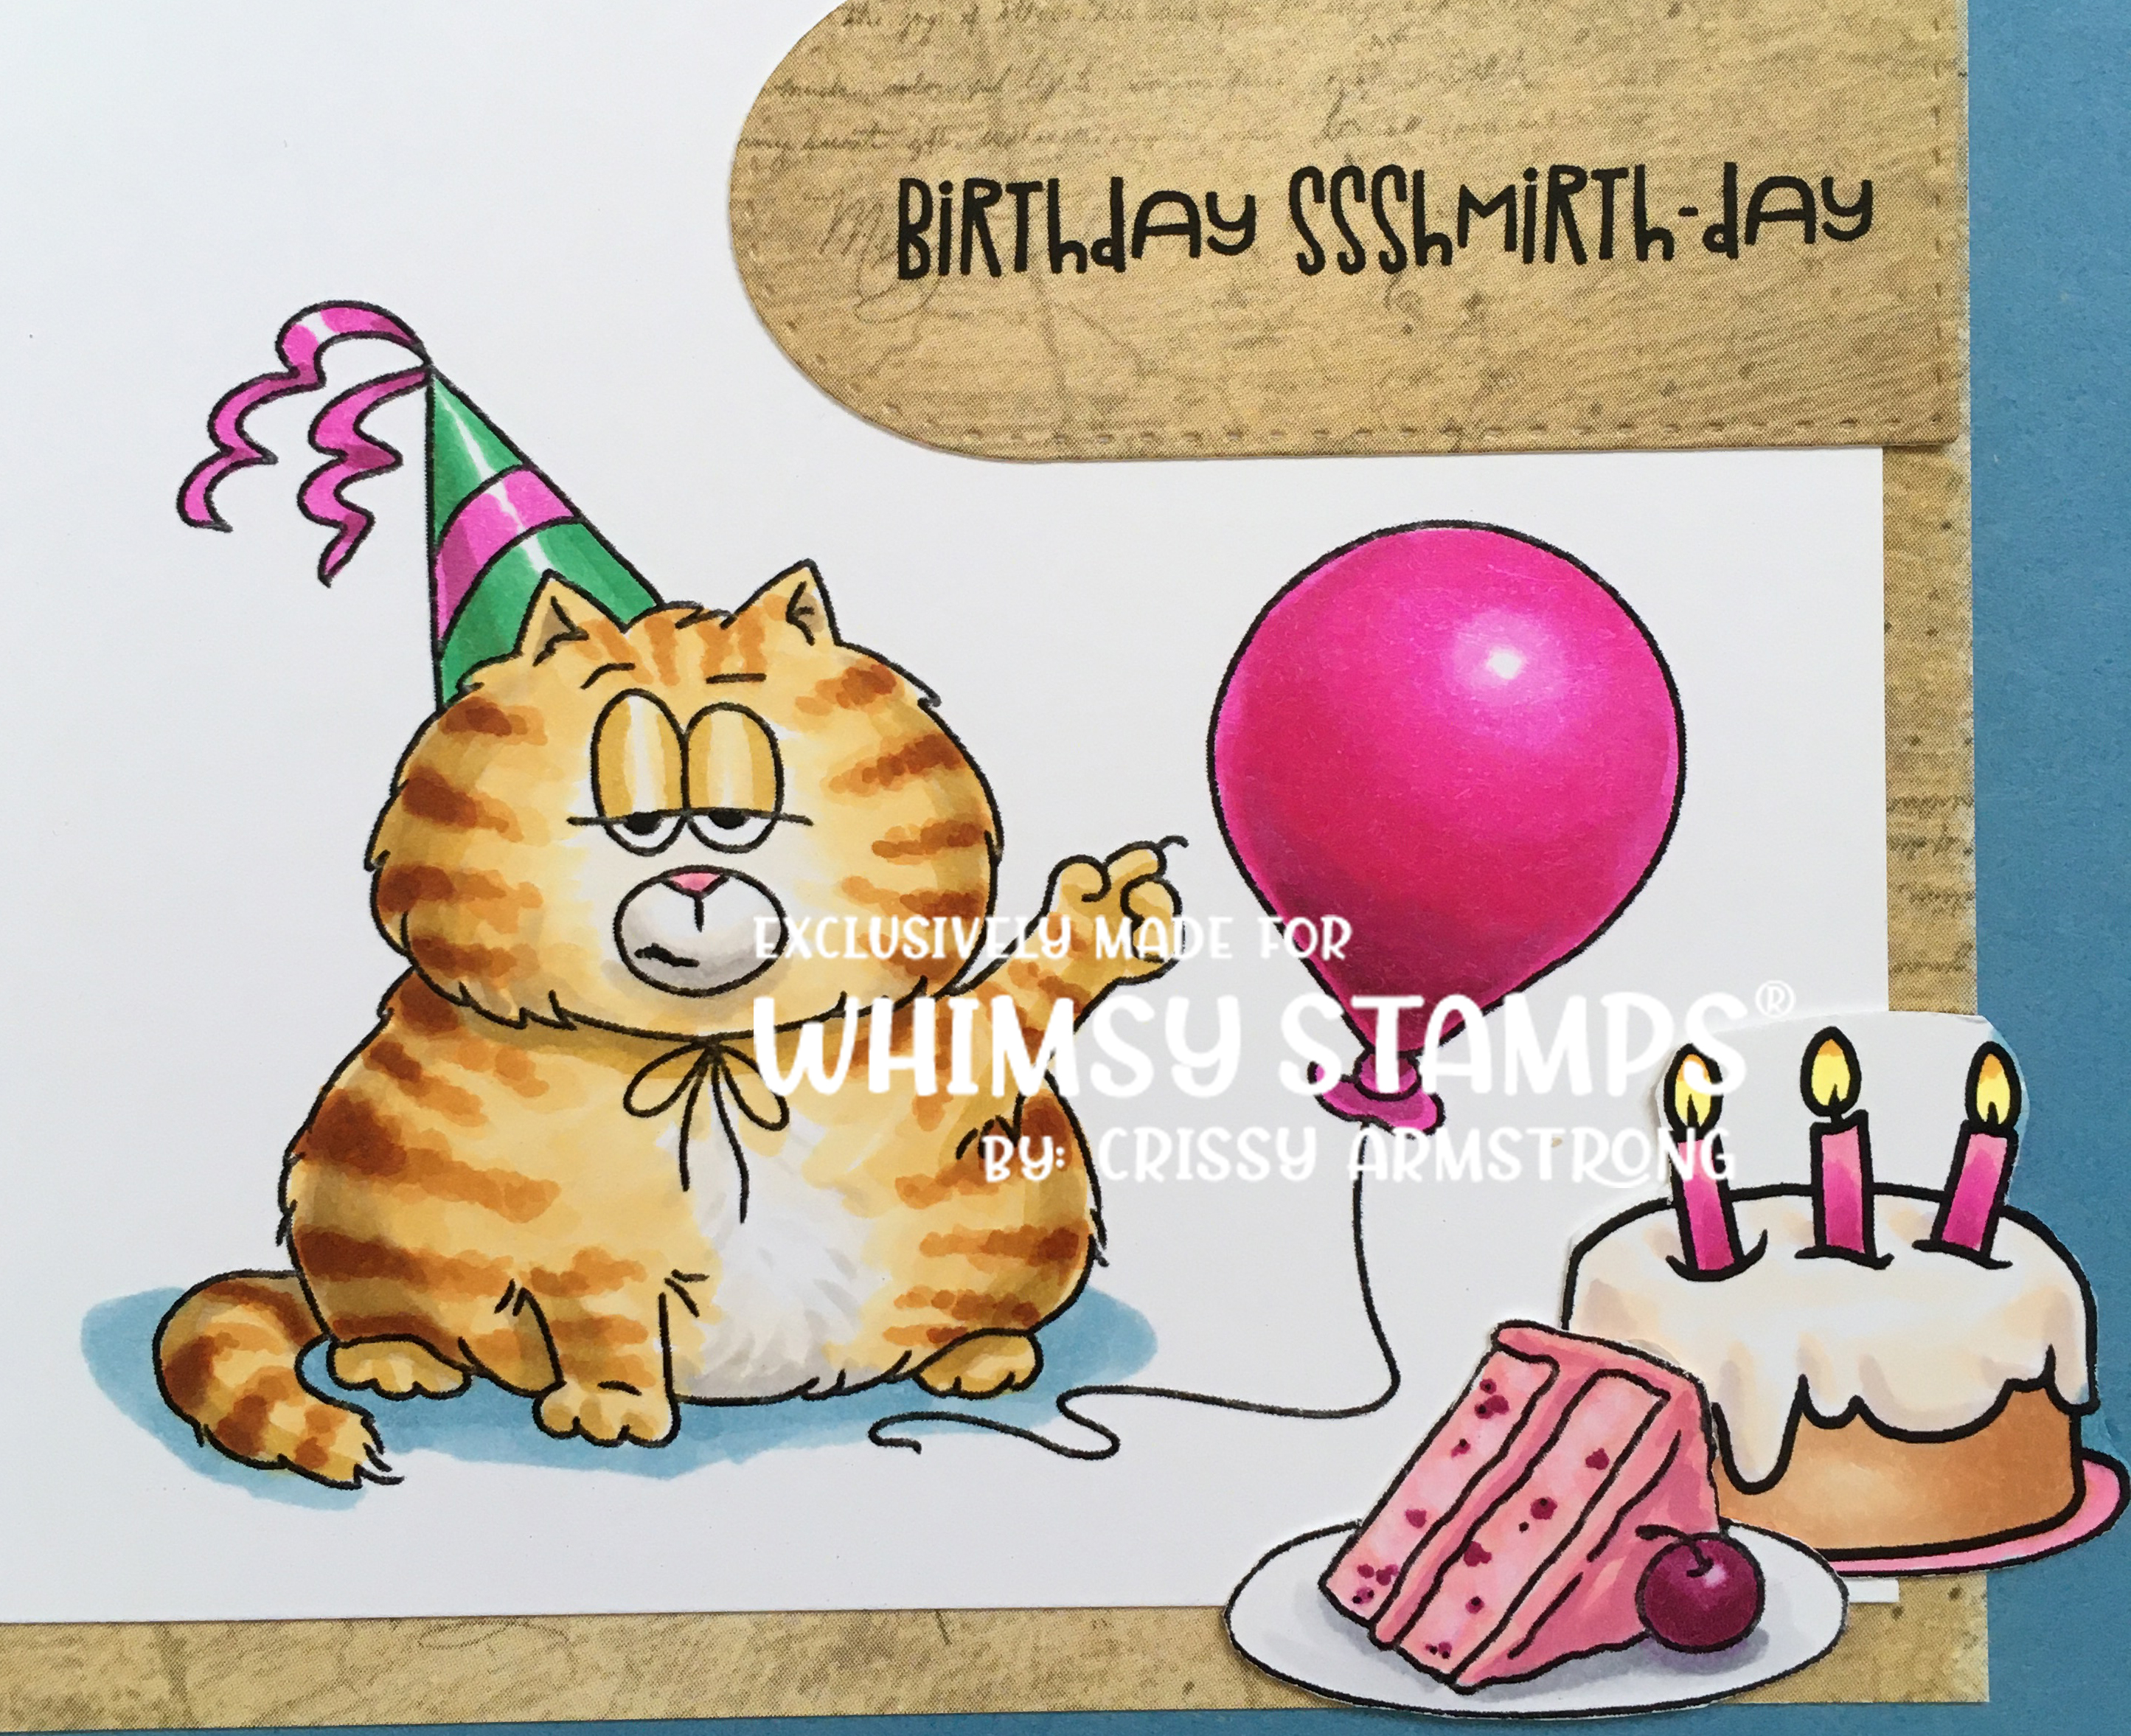
We all know a naughty cat like this guy, am I right? lol ;-) Images from my Cat Me-Wow set, which in my opinion, captures the "cat" personality (so fun to create!)!  I coloured up the image with Copics.  The light brownish gold paper is a page that I printed from my digital paper pack, Christmas Red, Gold and Green, but you would never know it's from a Christmas pack!  
Thanks for looking, here are your links:


Saturday, July 30, 2022

Mermaid Moments

Hi there! This is one of three mermaids from my Mermaid Moments clear set released this summer.  I made the ocean background using Distress Oxide inks - if you've never tried them, wow, they blend beautifully.  It's also easy to create a watery looking scene if you sprinkle water on it, and dab it with a tissue, or even just leave it to dry, it looks like you see here, with the added texture.  I love my oxide inks!  I thought that the background paper from the 6x6 Mermaid paper pack went perfectly too!  Just to frame it up nicely, I used the Wonky Window Die.  I coloured the images with Copics and then fussy cut them out, but you don't have to, you could get the dies that match the mermaids because those are available too! Just in case you are interested, I linked the dies below, but remember that the dies leave a tiny border around the images.  You can use your coloured medium of choice (coloured pencil, marker, paint, what ever you use) to colour that white space around the image that is left by the die if you want it to blend into your background (been there, done that, lol!).  But the images on this card were fussy cut - aka, cut out by hand, right on the black outline. The sentiment is from the Mermaid Moments Sentiments clear set.  Links are below.  Thanks for looking!
Mermaid Moments Clear Stamps:


Friday, July 29, 2022

Doggie Fun Times

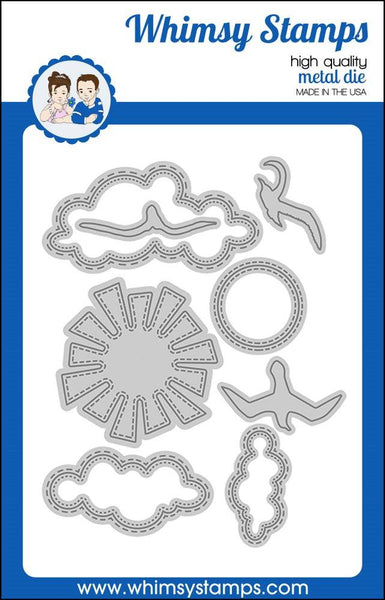
I made this months ago for a guy with a winter birthday!  This doggie reminds me of him and how full of life he is.  It's from the set I created, "Doggie Fun Times". The paper is from the gorgeous Blurry Flurries 6x6 paper pack at Whimsy Stamps.  I enjoyed using the film strip die on an angle like this - I think it adds a lot of interest to the card.  The sentiments from the set went easily into these clouds (of course I stamped the sentiment first, then placed the cloud die over it and put it through my machine for the perfect placement). They're popped up on dimensional tape.  Here's a closeup of the image which I coloured with a combination of Copic markers (first layer) and then coloured pencil, which made adding highlights on the metal rather simple to do.  Links are below.  Thanks for looking!


Gnome One Else


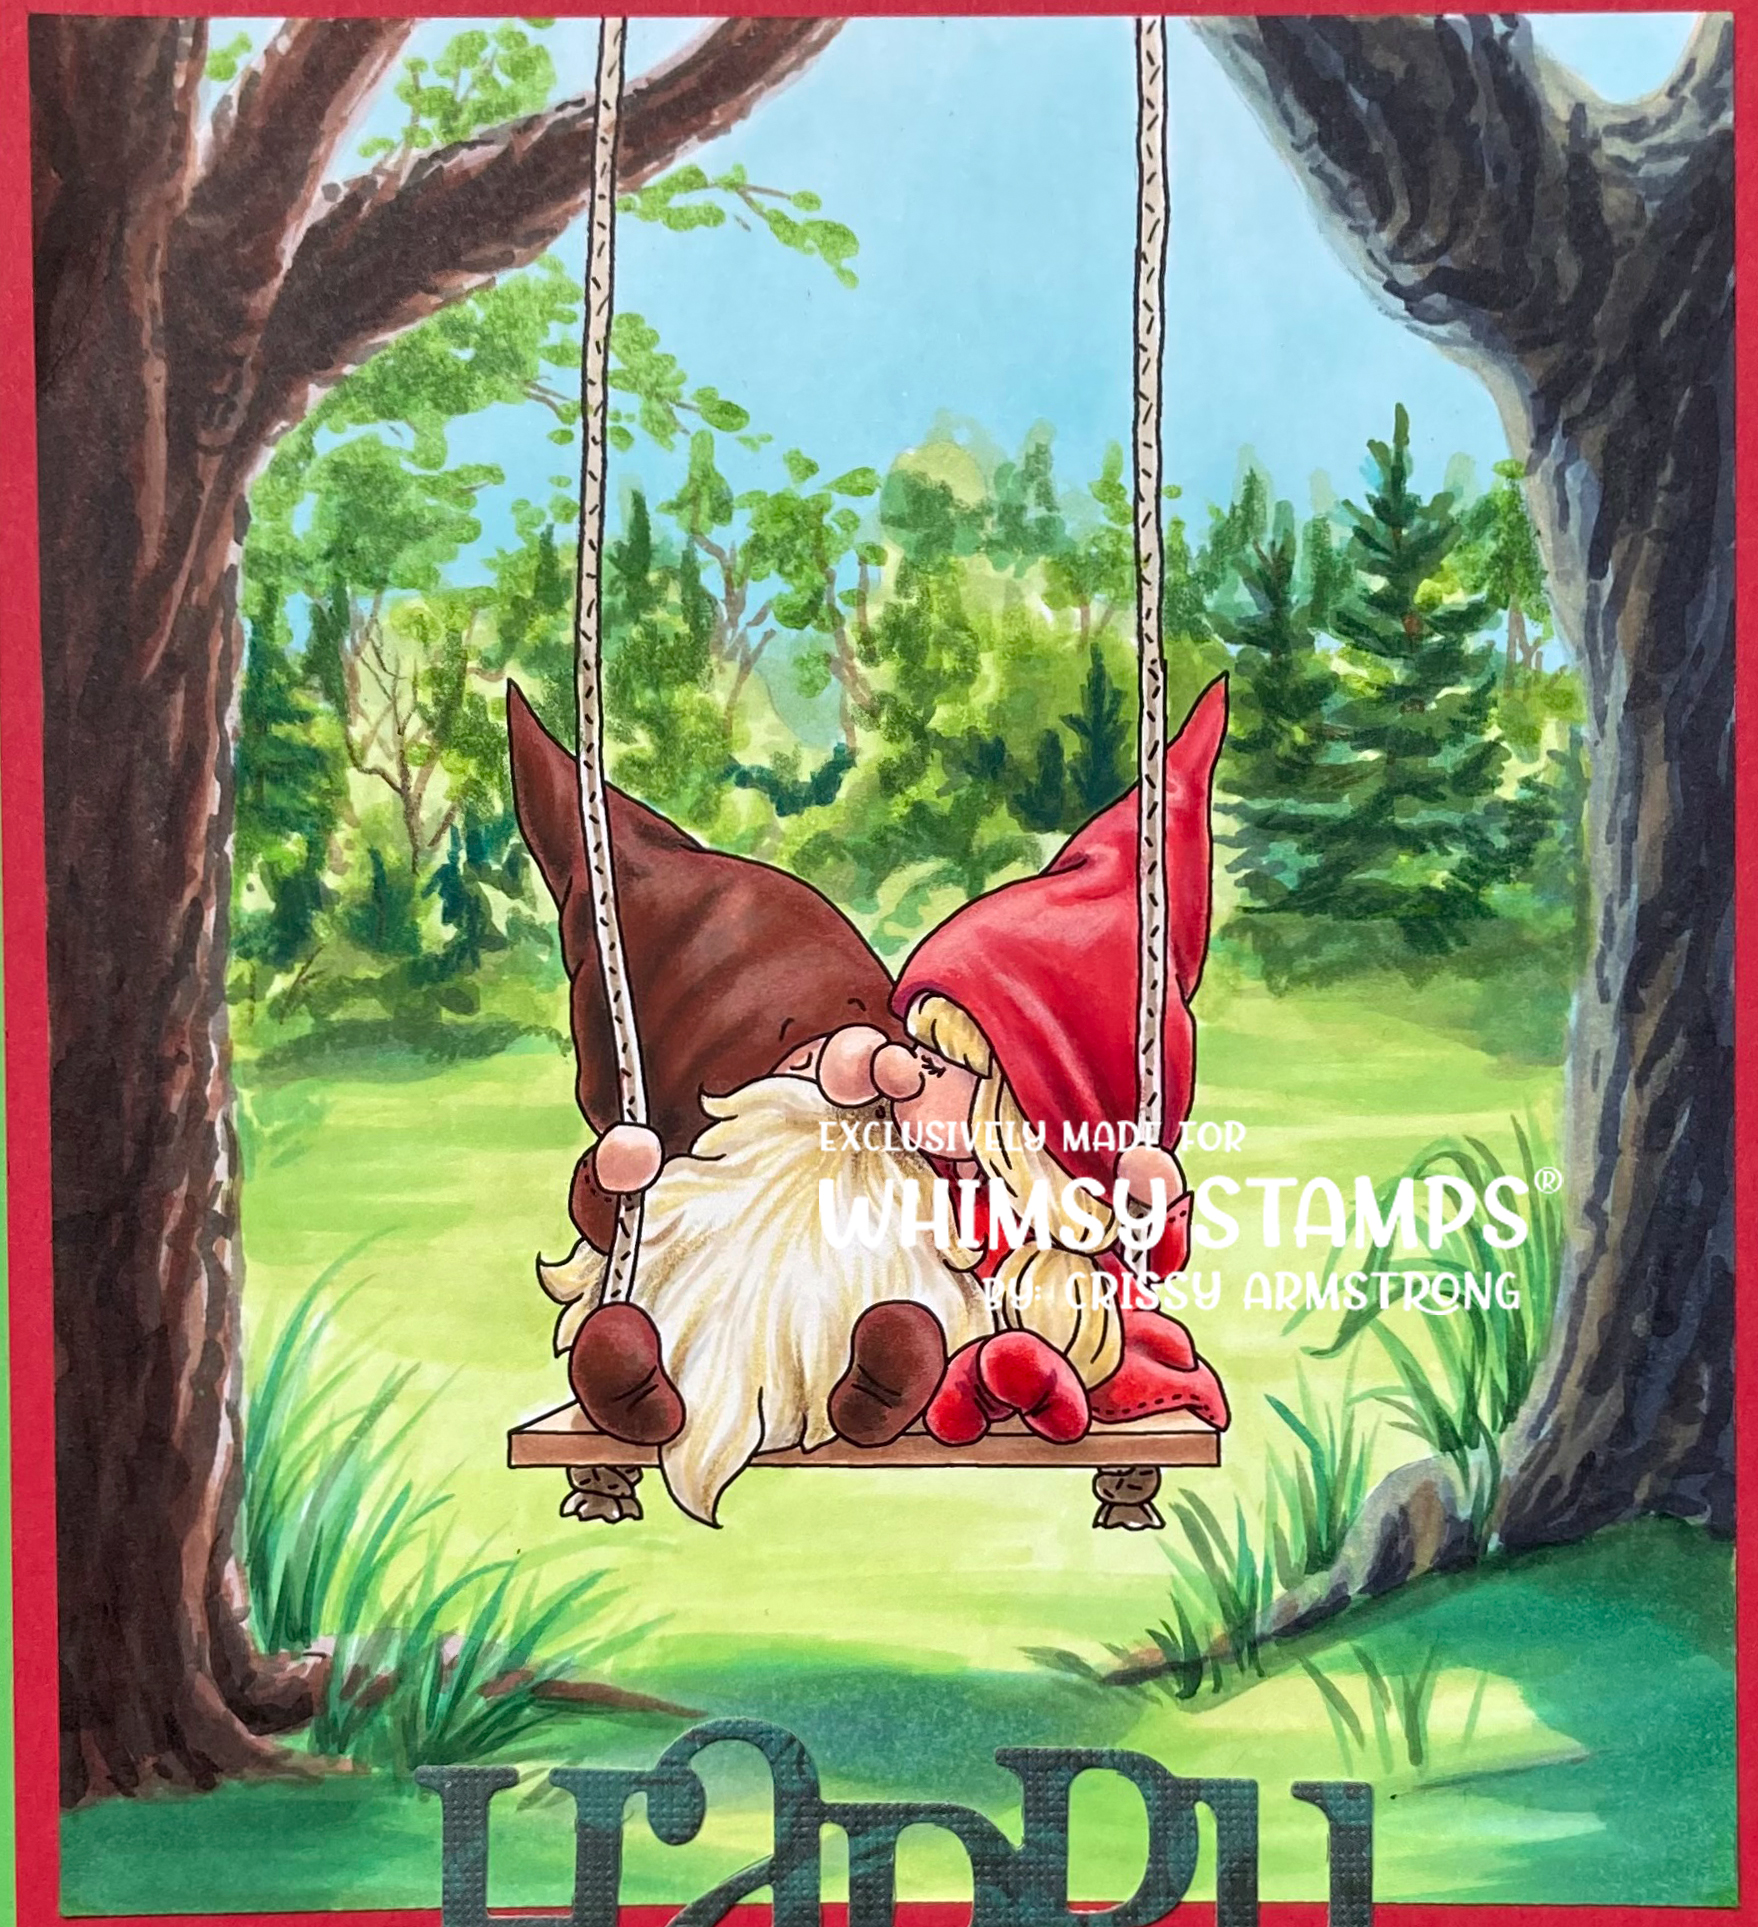
This was the Father's Day card I made for hubby! He loved it!  I used a gnome couple from my Gnome One Else clear stamp set.  It was fun to make a forest background freehand with my Copics - challenging, but fun! I do like how it turned out, though I would like to break out of my tendency to do realistic trees and make them more whimsical to match my characters! One day, I will learn! And see?! You can make a card with red and green and not have it look like Christmas! ;-) :-D Thanks for looking! Links are all below: